Hello! This is Trevor again! Welcome back to Project Penguin. Today we are making quilled holly gift tags!
Materials: strips of red and green copy paper (construction paper and cardstock are too thick), glue, quilling tool (or a toothpick works, too!), white cardstock, pen

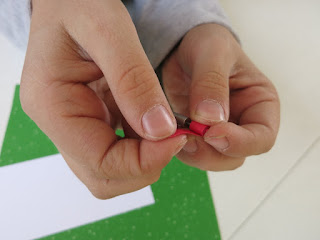
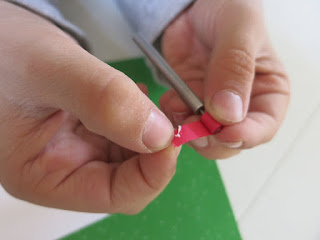
Use the quilling tool (or toothpick) to quill the red paper into a tight circle.
Add glue to the end and attach it. Hold it for about 10 seconds, then slide it off the quilling tool.
Make two more tight circles. These are the berries for the holly. Put a green strip of paper on the quilling tool and quill it, but don't hold as tightly as you did for the red.
Release the circle before you glue it together. Add glue to the end and press it together. Hold for 10 seconds. Use your hand to pinch together the center of the circle.
While still pinching, use your other hand to squeeze one side and push it toward the middle. Repeat with the other side.

It should a little bit like this:
Write 'to' and 'from' on the white cardstock. Glue the holly and the berries onto the cardstock and it is done! Mine is at the top of the post. Here's another look from a different angle.
This is my mom's. You can make yours vertical (like mine) or horizontal (like my mom's).

You can punch a hole to add or a string or just tape it on a gift.
Now it's your turn! Make a quilled holly gift tag like mine or inspired by mine and link it below by January 3 for a chance to win.


Great job Trevor!!
ReplyDeleteOhhhhhhhhh this is fabulous! LOVING that holly!!!!!!!!!!!!!!!!!!!!!!
ReplyDelete