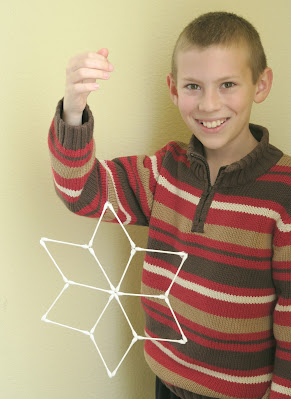
Not all of my craft ideas are original. Most are, but occasionally I have to recreate someone else's project, without the benefit of actually knowing how they made it. Take, for example, this Q-Tip Snowflake I made:
Many years ago, we featured "Snow Swabs" at Fun Family Crafts:
The original source, Spoonful.com, is gone, leaving us with a dead link. As Editor, that leaves me with a choice: remove the feature entirely, or try to figure out how it was made and post my own tutorial?
I hate removing crafts from the site, so this time I tried to make my own version. I knew from the title that each 'spoke' of the snowflakes were q-tips, but that's all I knew. What are those colorful blobs at each intersection? The photo is too small to enlarge. Now that I've made my own, I *think* those blobs are hot glue with glitter sprinkled into them, which is different than what I did. Here's my version. Affiliate links below.
---------
Q-Tip Snowflake
Materials:
Steps:
1. On a piece of wax paper, arrange the q-tips into a six-pointed star.
2. Put glue at each intersection. Too little and the snowflake won't stick together. Too much and the glue will form unsightly pools. (Ask me how I know.) Let the glue dry overnight.
3. Carefully peel the wax paper from the back of the snowflake. If necessary, add extra glue to reattach weak areas and/or use microtip scissors to trim away glue pools. Once it is secure, tie a piece of fishing line around the snowflake. Have a trusty assistant hold it up to make sure it is actually sturdy.
4. Now it's time to decorate! I used Star Dust Stickles to add glitter to the snowflake, then glued a silver sequin at each intersection.
Of course, both the glitter and the sequins are difficult to see in my photos, but they do add a nice sparkle in real life. Hang your snowflake in the window and enjoy!


Who'd of thought q-tips could be used to make something pretty! Love it!
ReplyDelete