The calendar says that fall is coming soon, but here in the Bay Area our leaves won't be falling for another 2 or 3 months. All the more reason to embrace fall colors via crafting!
---------
Fall Tree with Tissue Paper Leaves
Materials:
- watercolor paper
- crayons (brown, black)
- watercolor paint (blue)
- tissue paper (red, orange, yellow, green)
- scissors
- glue
Steps:
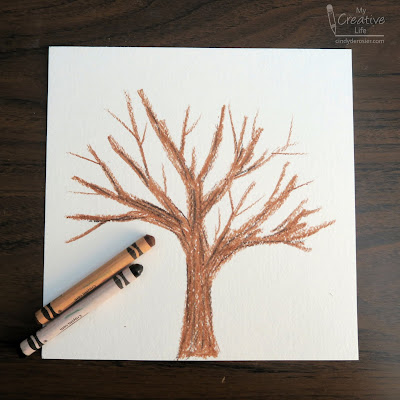
Use crayons to draw a tree on the watercolor paper. Add plenty of branches and twigs.
Add a wash of blue watercolor over the entire paper. The wax of the crayons will resist the paint; dab gently with a paper towel if any droplets remain. Let the paint dry completely.
Use scissors to cut the tissue paper into tiny bits. I cut a few squares from each color, layered them, and then hacked at them randomly with the scissors. Dot glue onto the branches of the tree where leaves would be. Sprinkle the tissue paper bits onto the branches. Repeat until all the branches are covered. Lift the paper vertically to allow any pieces that are not attached to fall.
Repeat the steps of cutting tissue paper into bits, dotting the paper with glue, and sprinkling the tissue paper onto the glue, except this time do not include any green tissue paper. (Green leaves wouldn't have fallen yet. I thought of this a little late, so you can see hints of green behind the fallen leaves. I'm pretending its grass.)
This project was really fun to make and took a lot less time than I'd originally expected. It's a great way to reuse ripped or wrinkled tissue paper. Give it a try!


Love the fall colours but I'm not sure I have the patience for gluing those leaves.
ReplyDeleteNo patience needed! Just dot the glue everywhere, then sprinkle the tissue paper. It takes 30 seconds!
Delete