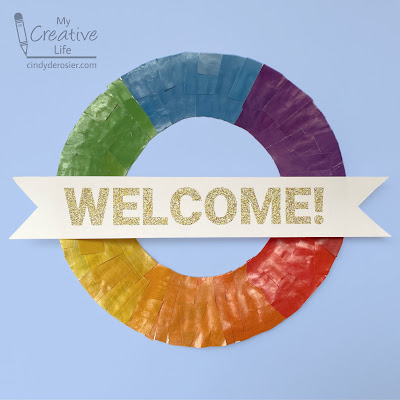
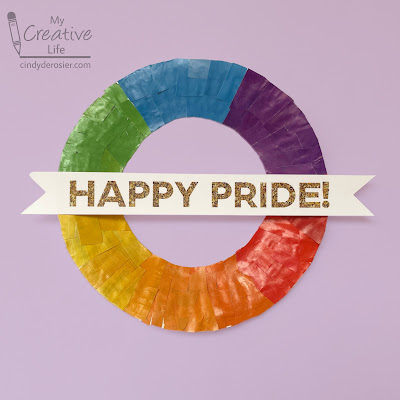
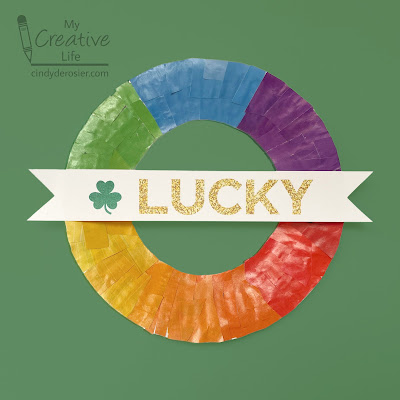
All the beautiful rainbows I'm seeing during June inspired me to make this 3-in-1 rainbow welcome wreath.
What makes it 3-in-1? I made the sentiment removable, so when June rolls around, you can switch out the more general "Welcome!" for this "Happy Pride!" version.
This "Lucky" version is for March. Affiliate links below.
3-in-1 Rainbow Welcome Wreath
Materials:
- uncoated paper plate
- scissors
- magazine
- craft glue
- Outdoor Mod Podge
- white cardstock
- clear contact paper
- poster putty
Steps:
Cut the center out of a paper plate to make a wreath shape. I used a dessert-size plate, but you can use whatever size you want.
Go through magazines and tear out pages with red, orange, yellow, green, blue, and purple on them. I used the monthly guide sent to us by the city, which is why you see information about recycling/waste and classes.
Use a pen to draw lines marking roughly equal sixths on the paper plate. If you think of it like a clock, draw a line at 12:00 and 6:00 first, then lines at 2:00, 4:00, 8:00, and 10:00. This will give you an idea of how much space each color should take up.
Starting with red, cut around any text or pictures until you have a good-sized pile of red pieces. Glue them into one of the six segments. Working clockwise, do the same with orange, yellow, green, blue, and purple.
If you are going to be hanging your wreath outdoors, seal it with Outdoor Mod Podge.
Write or print your sentiments onto white cardstock and trim the ends like banners. If the wreath will be exclusively indoors, you can leave cardstock as is. Otherwise, seal them with clear contact paper. Attach a sentiment to the wreath with poster putty. You should be able to remove it easily when it's time to switch sentiments.


Really cute!
ReplyDelete